Anyway, on to the tutorial!

My version, obviously… for cube decorating and backs of chairs and for wherever you need or want them to go! It’s a simple thing, really. There isn’t a “hard” part, just the time consuming part (picking fabrics and patchworking them together)
1. Print the pattern (and enlarge, if desired) downloadable from Google docs. https://docs.google.com/viewer?a=v&pid=explorer&chrome=true&srcid=0ByYnX0orZpZPYjg0MTRiNGUtZWFhMS00ODM0LWEwYTAtMzFjMGFlM2RhMzgw&hl=en_US2. Pick your fabrics (of all the steps, the most fun, other than hanging the finished product up)!

3. Stitch fabrics together in patchwork – try to be random and go for small patchwork so you can see several fabrics on each of the pennants. Press the seams open. (just like you do with all your quilting-type projects, right? RIGHT?).
4. Trace the pattern and cut out pennants from patchwork and from back fabrics. It's easy - just like cutting out anything else. I wasn't particularly particular (if that makes sense) about it. As long as the front and back pretty much matched up, I could jerryrig it. I'm okay with that. If you're the type that has to be perfect about everything... well... go for it. You have my blessings. (I'll just mention that several societies - as distinct and disparate as the Arabs and the Irish - tend to believe that perfection cannot be attained by mankind, but only by god(s), so everything they do is slightly flawed. Just sayin'.)
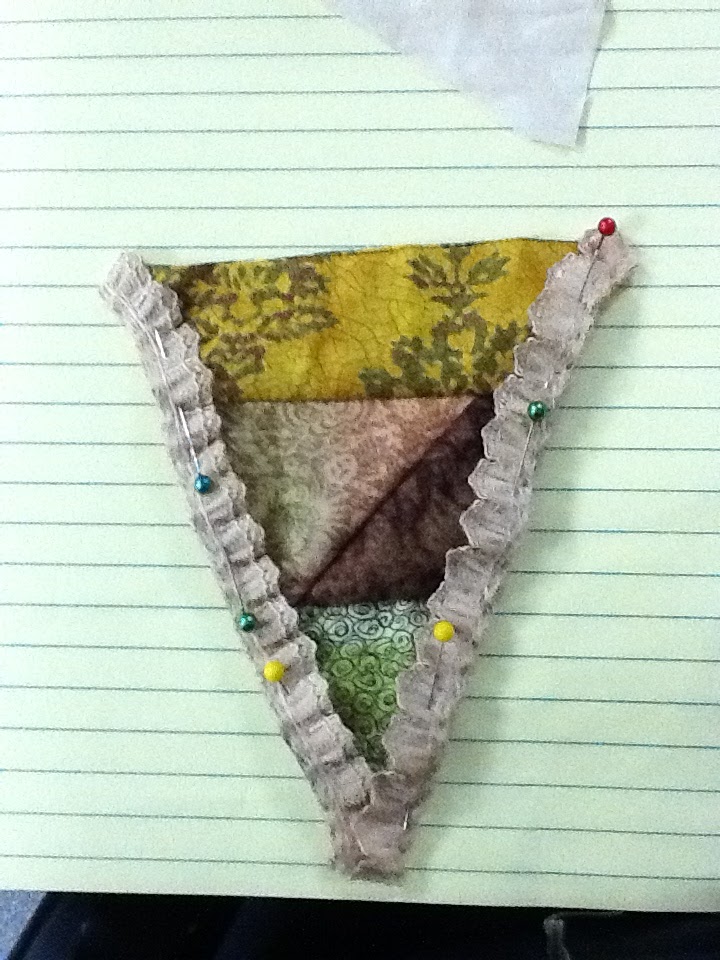 5. Lay out lace/trim along front fabric, cut to fit. Pin lace/trim between front and back fabrics, which should be right sides together. (That would be a given, one would think, but best to include it here! You never know!)
 6. Stitch the triangles with lace, leaving the top open for easy turning. Following that, turn the triangles right side out. How easy was that?! It's all good - we're getting close to being done, believe it or not. From here, repeat for each pennant you want to make.
 7. Grab your bias tape/binding/ribbon that you'll be using to suspend the pennants from. Mark desired distance between pennants on bias tape/binding. Place pennants onto bias tape and fold bias tape over. Stitch with desired stitching close to edge, capturing tops of each pennant in bias tape.

Here's mine. Almost done! Although you can't really see it here, the stitch I used was a decorative one - a vine and leaves pattern. Because I could, and I think it adds something when you look at it in real life.
On mine, I used a commercial pattern for acorns to make small acorns to hang between the pennants. The same thing could be done with pumpkins, jingle bells, or anything else that your mind desires. The Halloween one will have little pumpkins. Probably. Maybe ghosts. We shall see.
Hopefully this tutorial is clear and easy to follow. If not, let me know and I'll make what changes seem needed. And maybe I'll get more stuff done, now! (Right, off to work on my September sewing project).
3 comments:
Oh, wow - that is SO cool! Do you mind if I pin this to my Pinterest Craft board?
I'd be flattered! Go right ahead!
Done - thanks!
Post a Comment